Verosoft Design Account
VSD Account | Managing Users
Your Verosoft Design account can be accessed by unlimited users within your organization with different permission sets. Please note that not all Verosoft Design software users are required to have access to your organization’s Verosoft Design account.
User Roles
There are four (4) user roles within the Verosoft Design account:
- Administrator
- Finance
- Support
- Basic
Administrator User
Note*: There must be at least one (1) Administrator User per account.
Remember that the Verosoft Design account creator will automatically be assigned as the Administrator User of the account. The Administrator role can be assigned to one or more users at any point after account creation is complete.
Manage Users
As an administrator, you can view, add, delete and manage Verosoft Design account users.
View Users
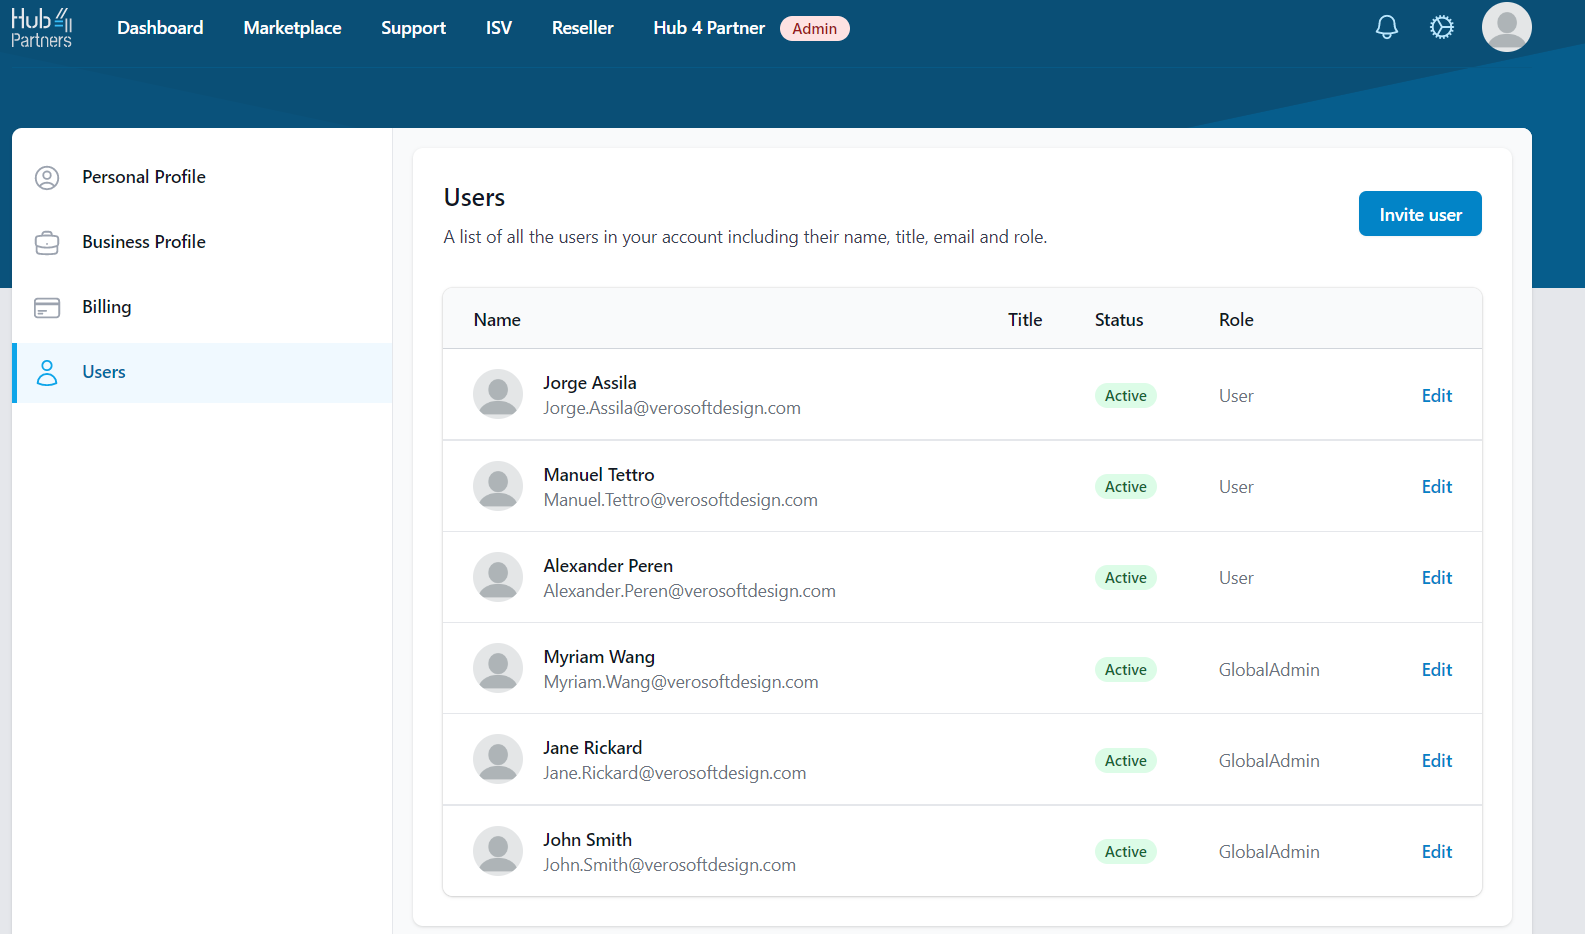
From your Verosoft Design account, go to the Profile tab, then click on "Users". You will see a list of all the users associated with your Verosoft Design account, including their name, title, status and role.
Invite New Users
To invite new users to your Verosoft Design account, simply:
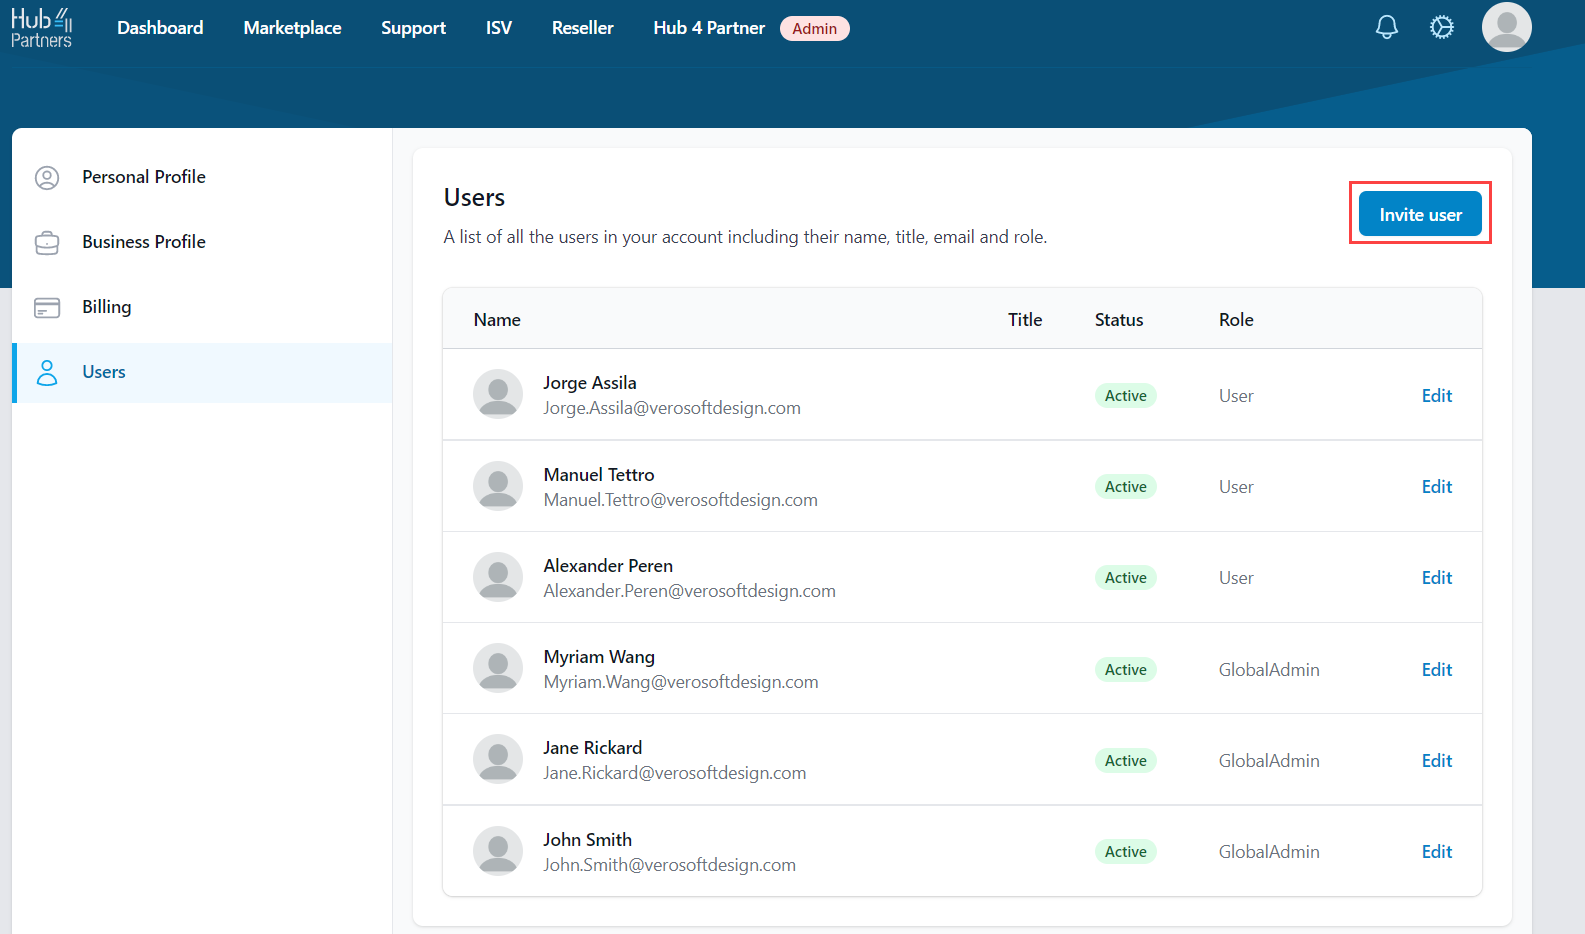
- Go to the Profile tab, then click on "Users".
- Click on "Invite user".
- Fill out the user information, then click "Save".
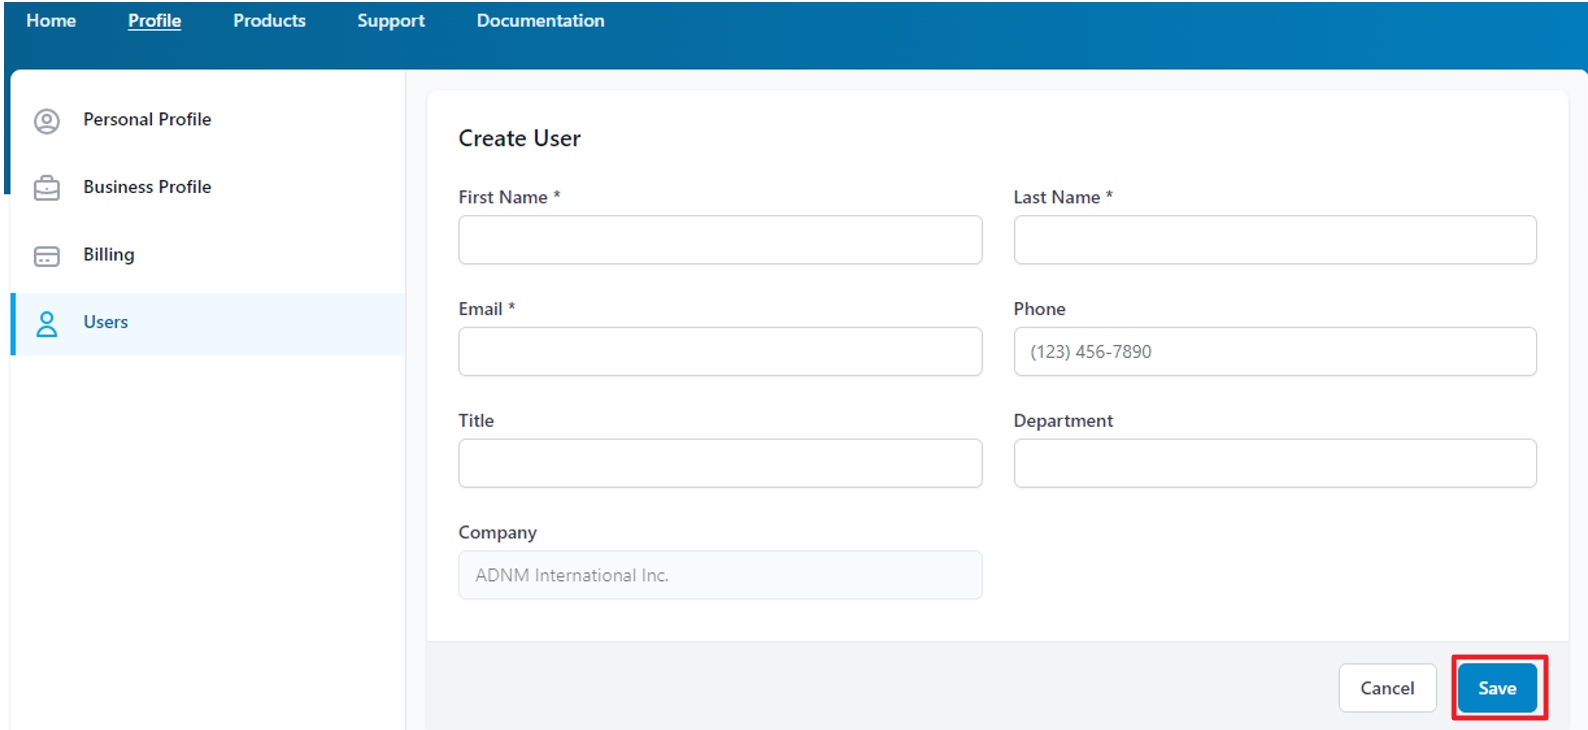
- An invitation email will be sent to the user.
Enable a User
- From the user list, select the user you want to assign a role to and click "Edit".

- Under Enable this account, click "Enable".
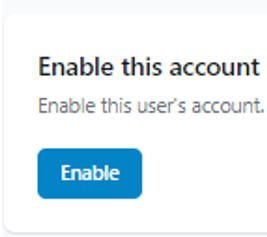
- A popup box will appear. Click on "Enable" again.
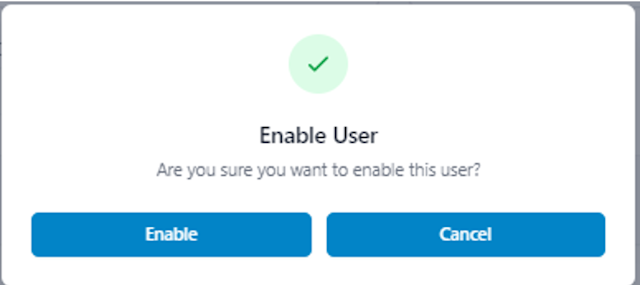
- The user’s status will switch from "Inactive" to "Active".
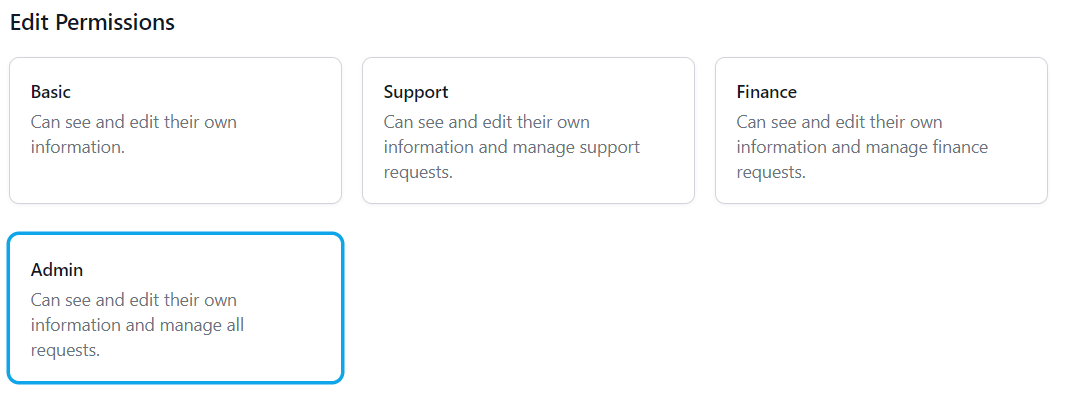
Assign a Role to a User
To assign a role to a user, the user’s status must be "Active", meaning it must be enabled first.
- From the user list, select the user you want to assign a role to and click "Edit".

- Under Edit Permissions, select the appropriate user role, it will automatically save it.
Disable or Delete Users
Disabling a user doesn’t permanently delete the user account. However, the user will no longer be able to log into the organization’s Verosoft Design account.
Deleting a user will permanently remove all data associated with it.
To Disable a User:
- From the user list, select the user you want to disable, then click "Edit".
- Under Disable this account, click "Disable".

A popup box will appear. Click on "Disable" again.
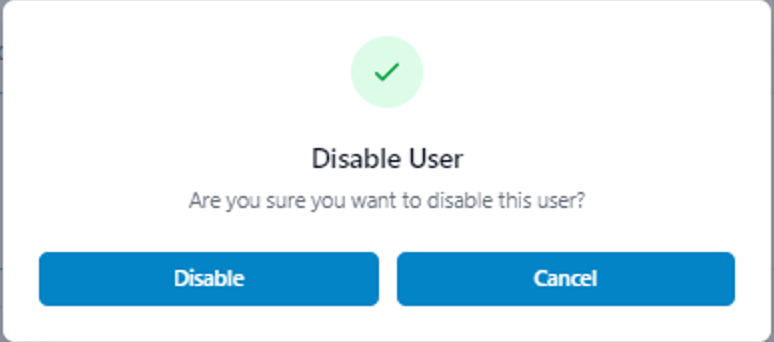
- The user’s status will switch from "Active" to "Inactive".
To Delete a User:
- From the user list, select the user you want to delete, then click "Edit".
- Under Delete this account, click "Delete account".
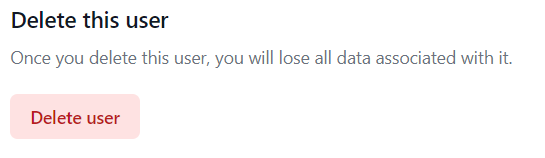
- A popup box will appear. Click on "Delete" again.
- The user will disappear from the users list.