DocStash
DocStash | How To Use DocStash
DocStash Fact Box
In your Business Central, this is how the DocStash fact box will look like:
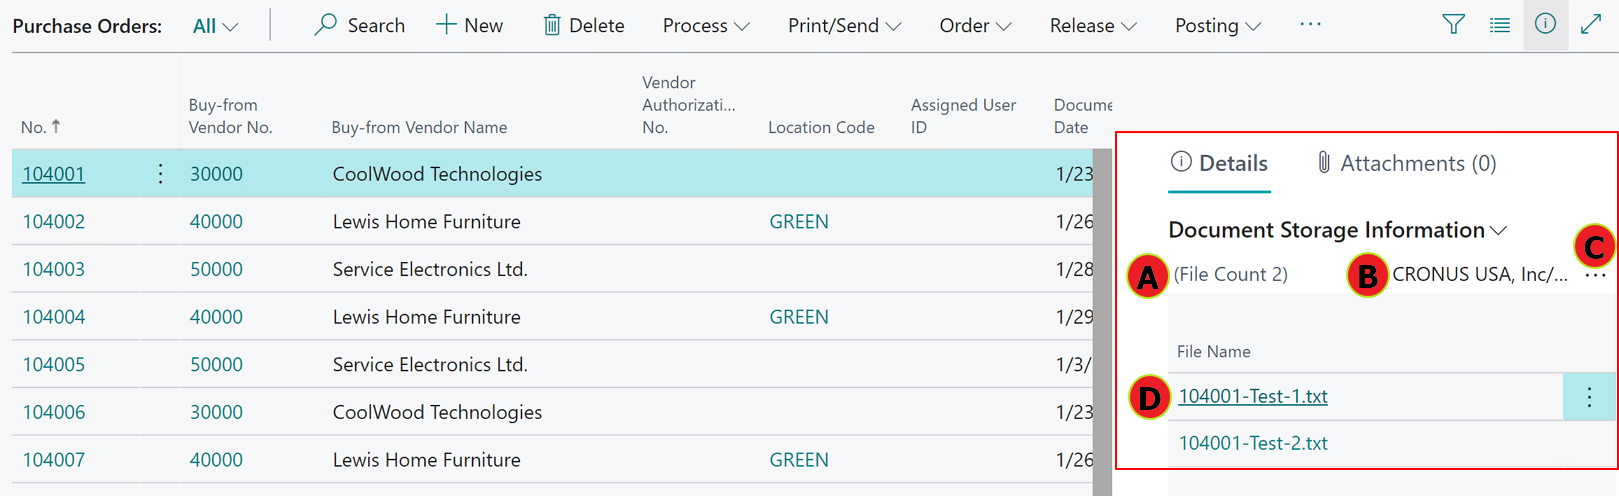
When you click on a record, you’ll see the fact box on the right-hand side of the screen, which contains:
A) The number of documents that were uploaded.
B) The upload folder location in SharePoint.
C) If you click on the three dots, you can open the SharePoint folder and see all uploaded documents in SharePoint.
D) The list of the documents that were uploaded.
When you click on "Documents Storage information" (in yellow) a drop-down menu will appear:
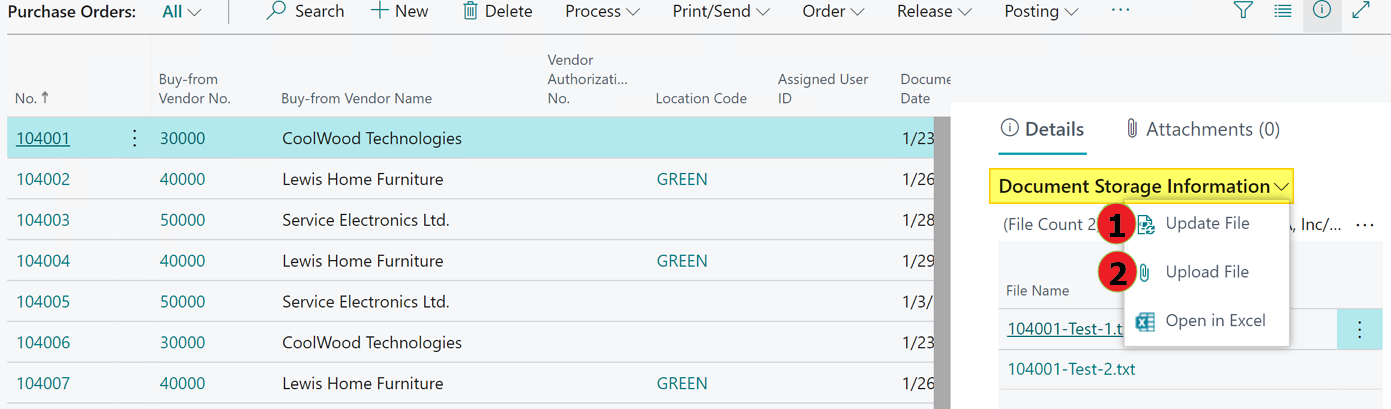
Functions in the drop-down menu:
- Update File: If changes are made to the table in Business Central and the user wishes to update the metadata in SharePoint, he can select the file he wants to update and click on Update File.
- Upload File: Click on this function to upload a new file to SharePoint.
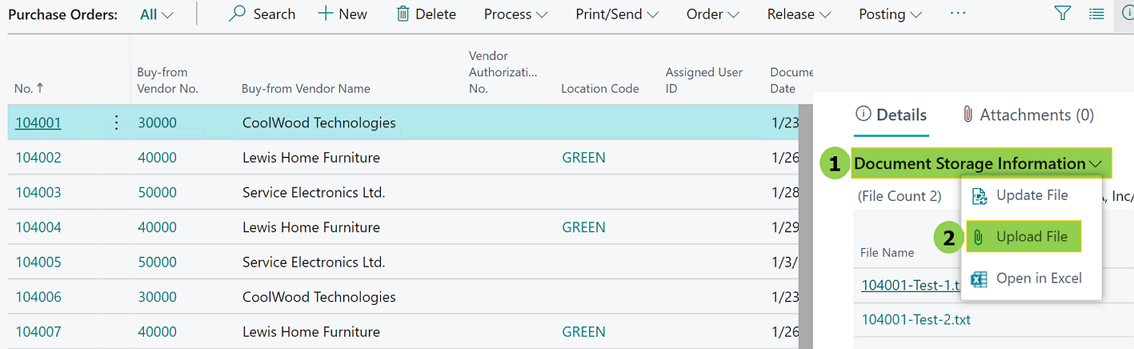
How To Upload A Document
You can upload it from Business Central. First, click on the Business Central record. Then, open the drop-down menu by clicking on DocStash Information (1). Finally, click on Upload File (2).
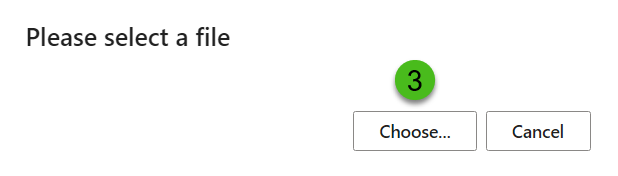
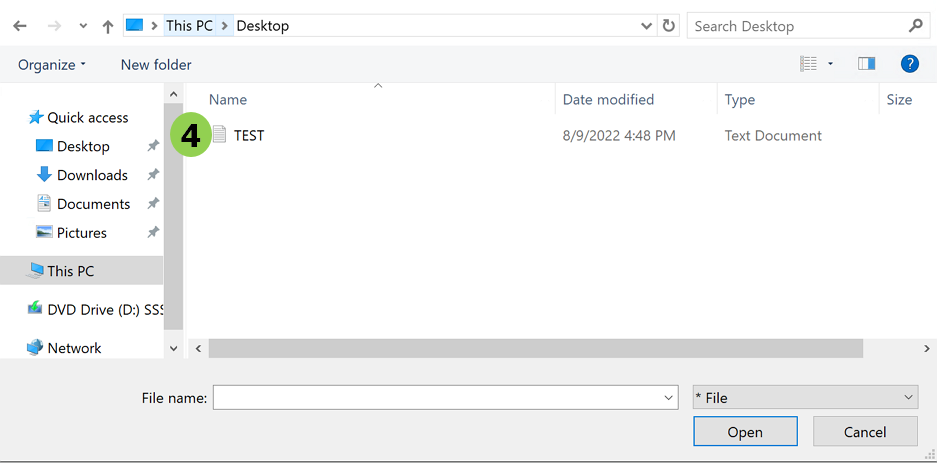
Then, you will be asked to "choose" (3) a "file" (4).
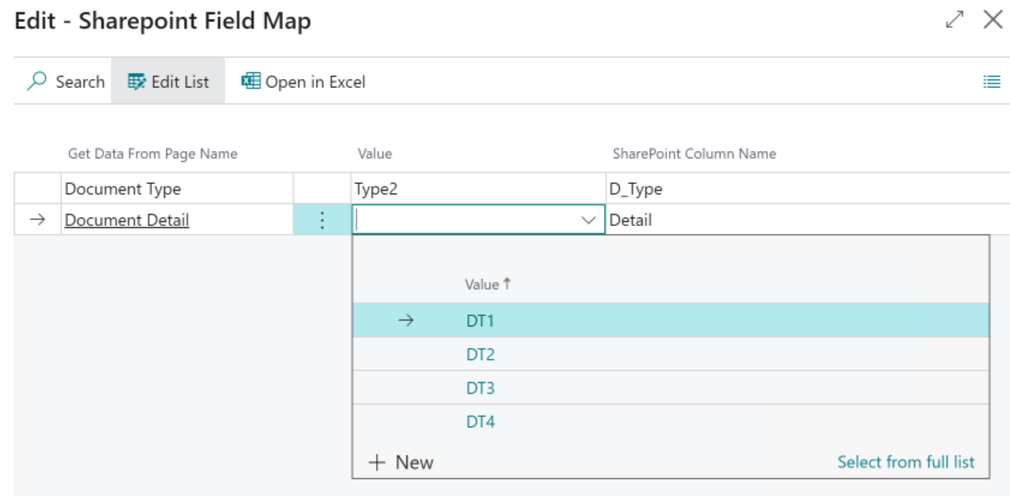
Note: If you are mapping values, you will be asked to select the value from the Value column dropdown list:
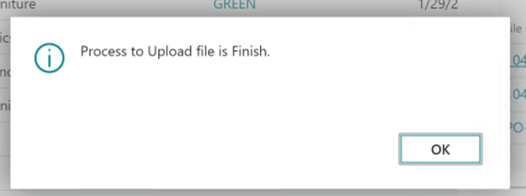
Then click on "Close". A window will open saying that the document upload process is completed.
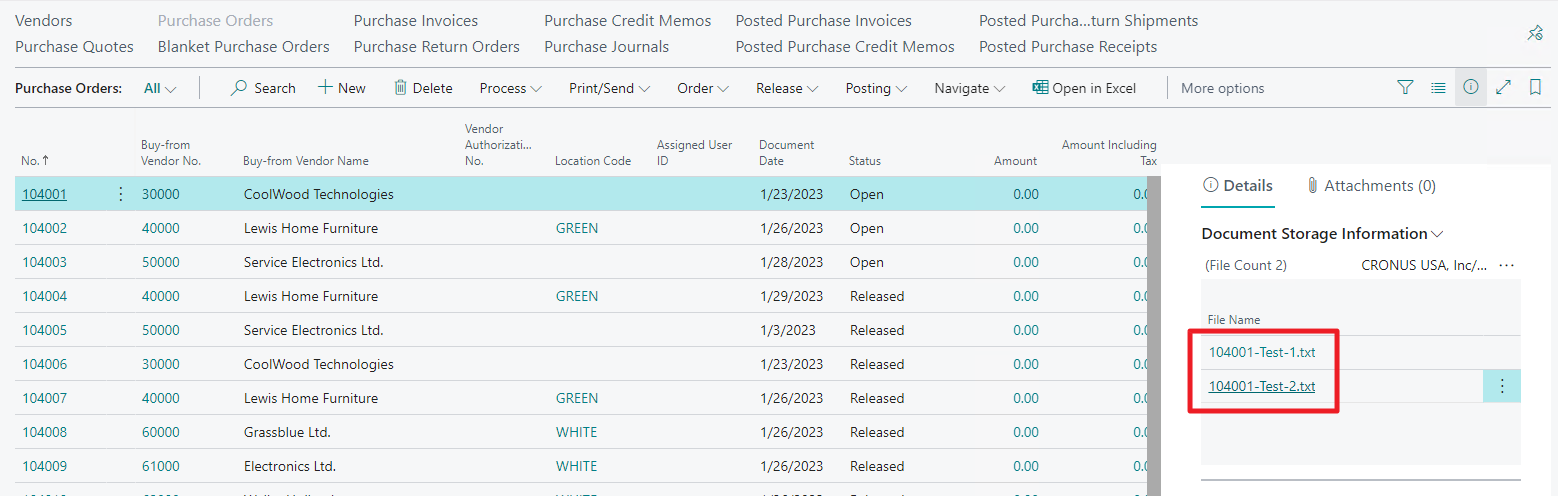
You will now see the uploaded document both in the DocStash fact box and the SharePoint folder.
What you will see in the DocStash fact box:
What you will see in your SharePoint folder:
